- Visual Scheduling Tips & Tricks
- Visual Production Scheduler (VPS) for Dynamics 365 Business Central
- Working with the schedule in the VPS
-
Visual Advanced Production Scheduler (VAPS) for Dynamics 365 Business Central
- Support
- Release and version status
- Installing the VAPS
- Look and feel of the visual schedule
- The view color modes
- Setting up the VAPS
- Integrating with Microsoft Dynamics 365 Business Central
- Finite Capacity Scheduling Instruments
- Simulations
- Day-to-day use cases
- Coding tips (for partners)
- API Events VAPS
-
Visual Production Scheduler (VPS) for Dynamics 365 Business Central
-
Visual Jobs Scheduler (VJS) for Dynamics 365 Business Central
-
Visual Production Scheduler (VPS) for Dynamics NAV
-
Visual Job Scheduler (VJS) for Dynamics NAV
View filters
The VPS offers two kinds of filters, the difference between them lying in the time of application
View filters
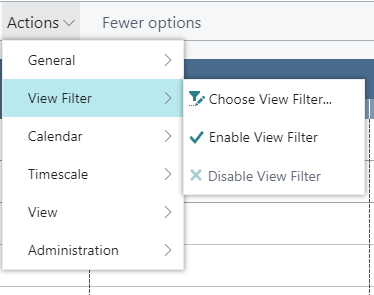
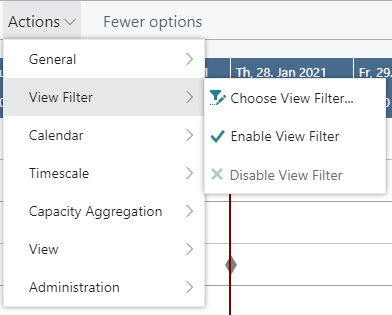
View filters are applied to data already having been loaded into the VPS (whereas data filters work as Dynamics 365 BC filter on reading the data (either when the VPS ist started or on reloading)). Accordingly, only the capacity utilization by the visible activities are shown in the histograms. To work with the filters, the "Actions" menu offers three according options:
- Choose View Filter
- Enable View Filter
- Disable View Filter

Create and edit filters
First, you have to open the according dialog by clicking "Choose View Filter" from the "View Filter" item:

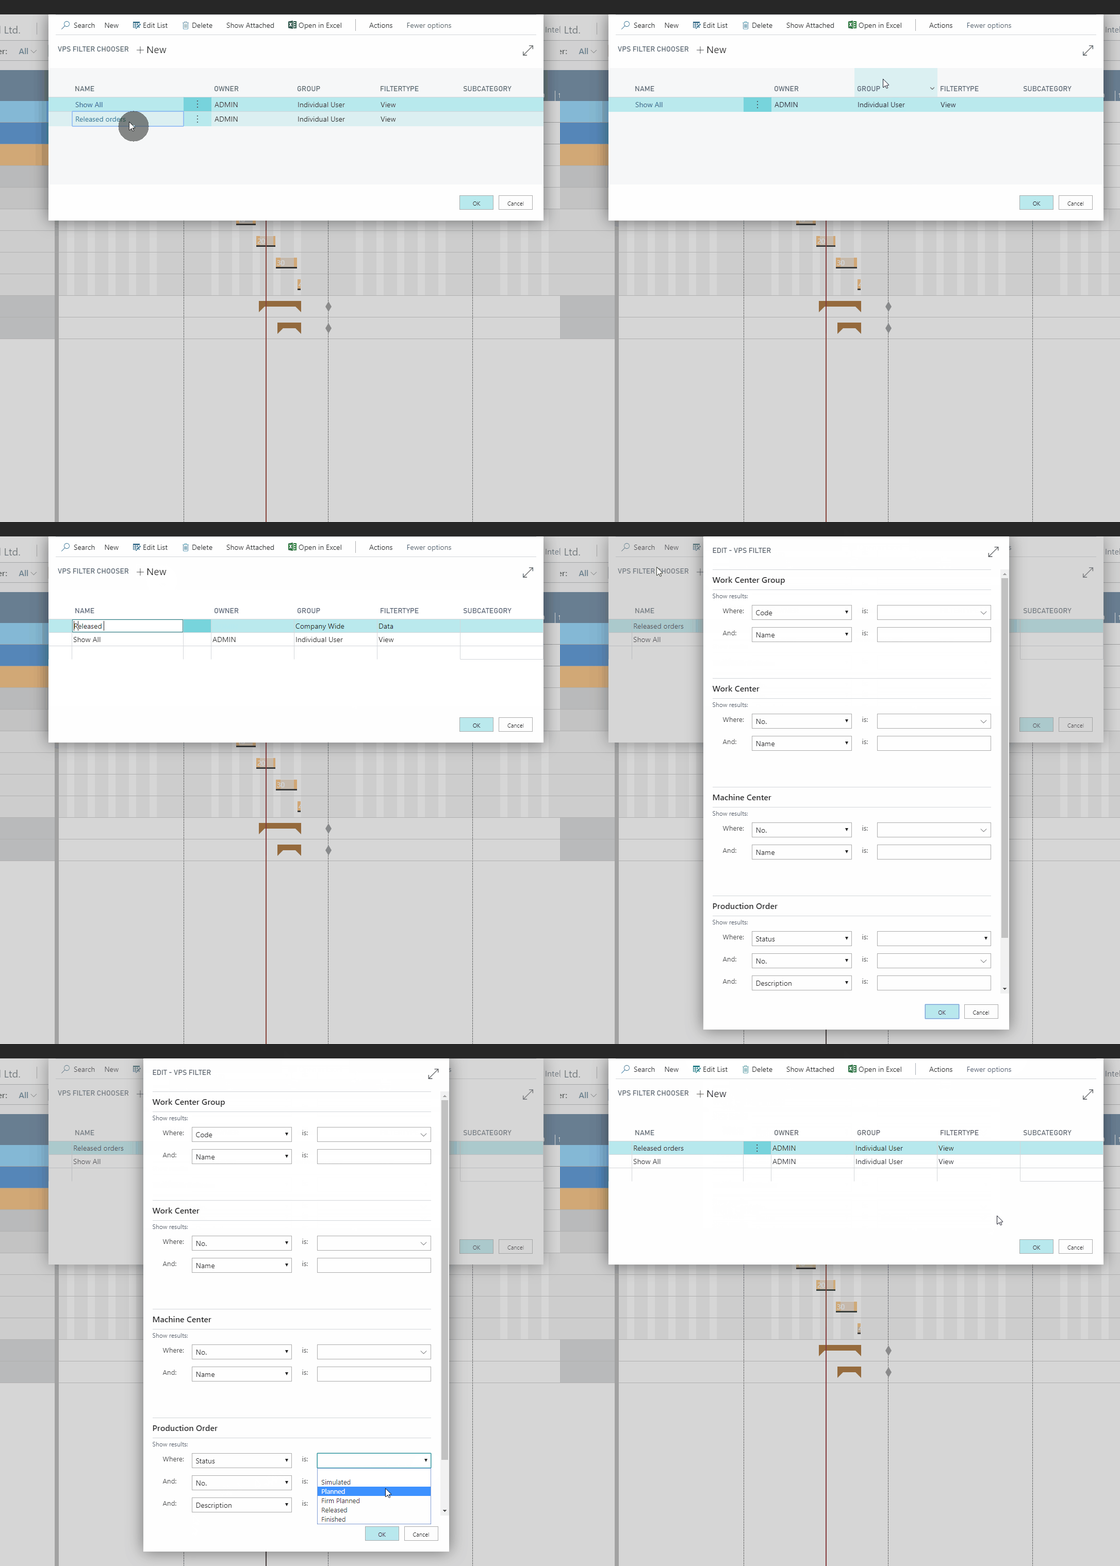
The short video below shows how to proceed once you have opened the dialog.

If you want to make sure that the last used view filter will be applied when you start the VPS, tick the according option in the "Setup" dialog:

