- Visual Scheduling Tips & Tricks
- Visual Production Scheduler (VPS) for Dynamics 365 Business Central
- Working with the schedule in the VPS
-
Visual Advanced Production Scheduler (VAPS) for Dynamics 365 Business Central
- Support
- Release and version status
- Installing the VAPS
- Look and feel of the visual schedule
- The view color modes
- Setting up the VAPS
- Integrating with Microsoft Dynamics 365 Business Central
- Finite Capacity Scheduling Instruments
- Simulations
- Day-to-day use cases
- Coding tips (for partners)
- API Events VAPS
-
Visual Production Scheduler (VPS) for Dynamics 365 Business Central
-
Visual Jobs Scheduler (VJS) for Dynamics 365 Business Central
-
Visual Production Scheduler (VPS) for Dynamics NAV
-
Visual Job Scheduler (VJS) for Dynamics NAV
Set up the working area
Adjust the elements of your working area to your needs and planning situation
Adjusting the time scale
Increase/reduce time scale solution
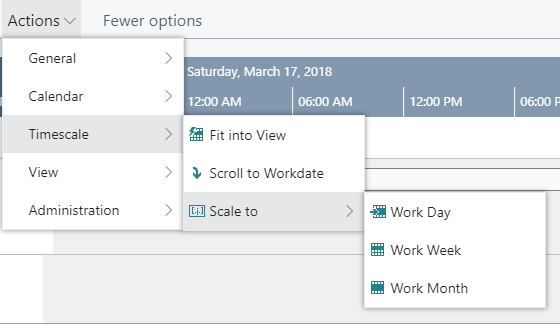
Depending on how much detail or summary is required, you can either increase or reduce the time scale solution by
- mouse wheel within the time scale

- or, more specifically by the corresponding items or the “Actions” ribbon, based on the work date as having been specified in the settings of Dynamics 365 Business Central.

Return to default time range
Select "Fit into view" to switch directly to the timescale as defined in the “Setup” Dialog.
Adjust the width ration between table and diagram
You can modify the width ratio between the table and the diagram by moving the vertical splitter bar between them.

