Click "Print" to print the diagram immediately as shown on the screen.
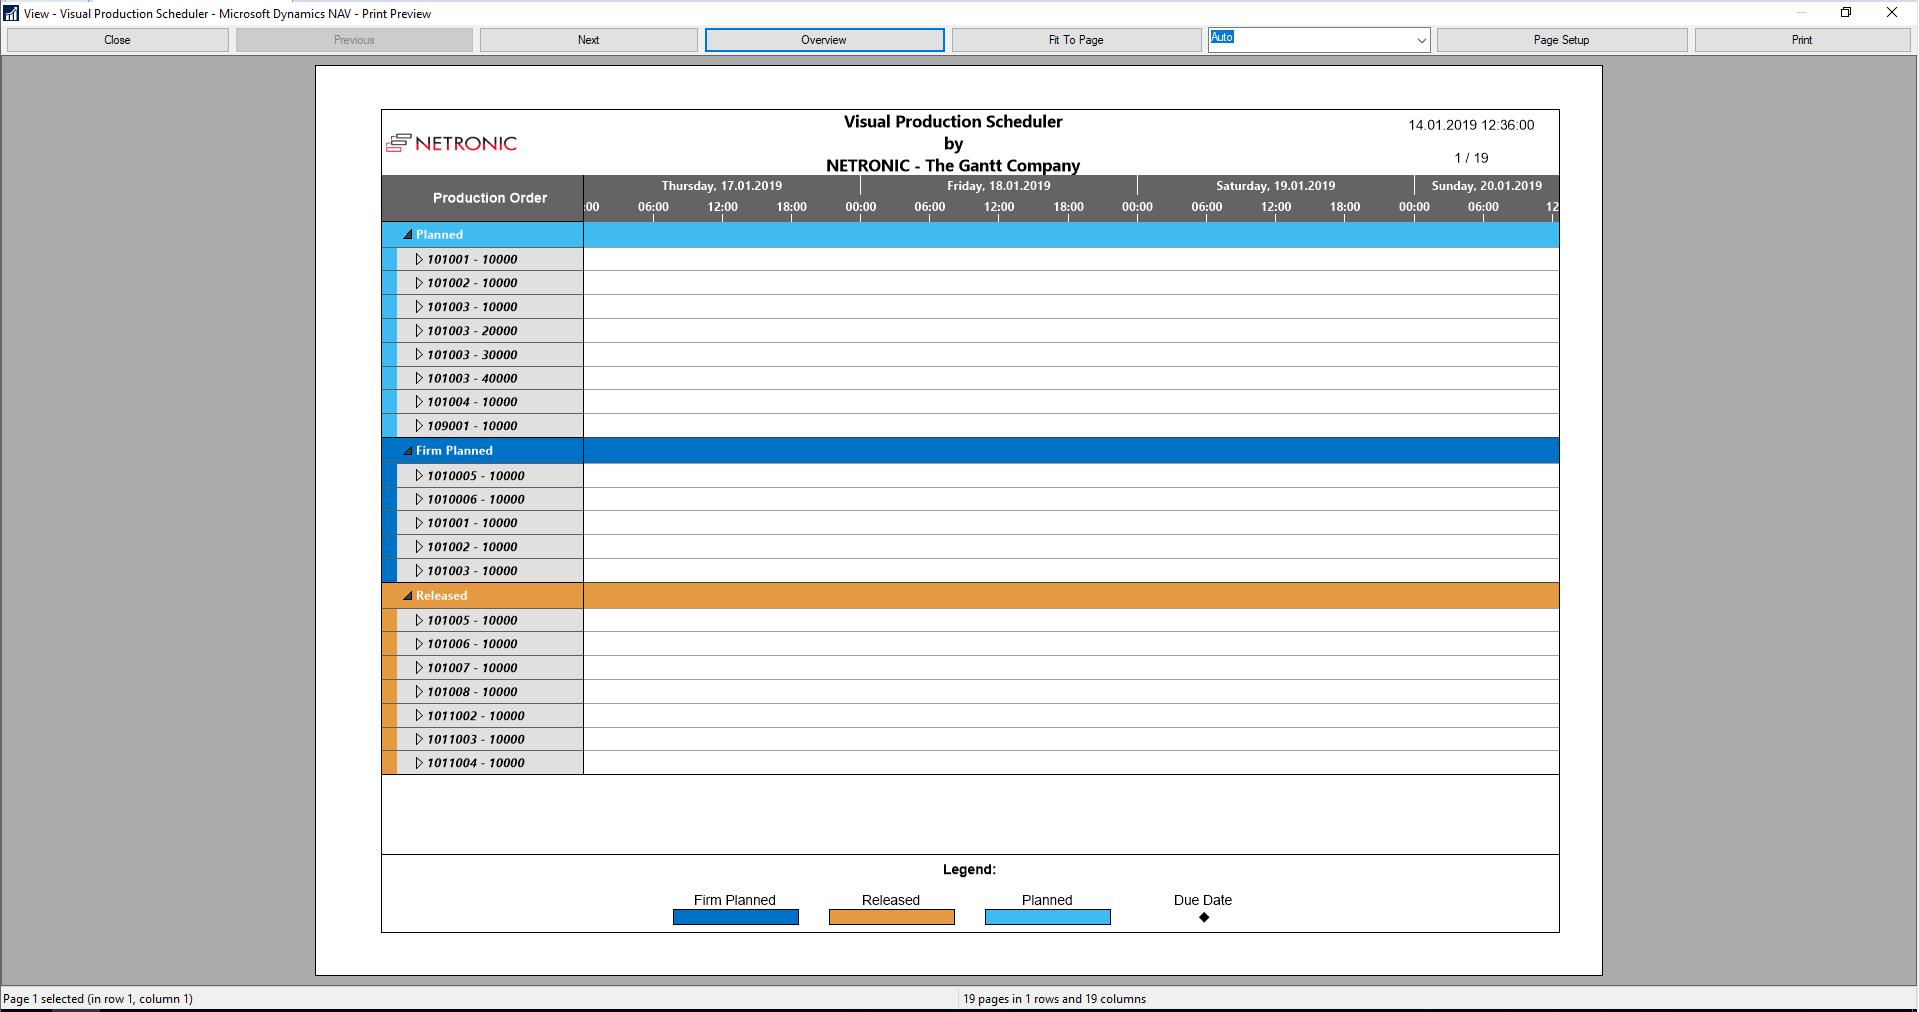
For further printing options open the "Print Preview" dialog. Before printing, you can view the diagram in the print preview where it will be displayed as defined by the settings of the "Page Setup" dialog and as it will be printed.
You can view single pages or an overview of all pages or you can zoom and print acertain section of your diagram interactively.
The status bar shows the total number of pages and their horizontal and vertical spreading. In the Single mode, also the number of the current page is shown.
The options of this dialog in detail:
Close
By clicking on this button, you will leave the page preview and return to your diagram.
Previous
Only activated when the Single button has been pressed. If the diagram consists of more than one page, you can click this button to view the previous page. You traverse the pages horizontally starting from the bottom right and finishing at the top left page.
Next
Only activated when the Single button has been pressed. If the diagram consists of more than one page, you can press this button to view the next page. You traverse the pages horizontally starting from the top left and finishing at the bottom right page.
Single/Overview
If the diagram consists of more than one page you can either view the pages one by one or in the overview. The overview shows all pages, their size depending on the total number of pages. The Single mode initially shows the first page in full size, the accroding buttons allowing to browse through the pages. By double-clicking a page you can easily switch between the two modes Single and Overview.
If you want to zoom a certain section of your diagram, switch to the Single mode and with the mouse draw a rectangle around the desired section while holding down the left mouse button. As soon as you release the button, the selected section will be enlarged and can be printed by clicking the "Print area" button that appears in place of the "Print" button. Please note that the zooming factor will not influence the scaling factor set in the "Page Setup" dialog.
Fit To Page
This button lets you scale down a multiple-page diagram to one page. The Fit To Page mode also allows to zoom a certain section as described under "Single/Overview"
Zoom factor
You can modify the size of the diagram by selecting a zoom factor from the list or by defining an individual one. This is only possible in the "Single " mode. To modify the zoom factor you can also use the scroll-wheel while holding down the <CTRL> key. The zoom factor it will not modify the size of the output. Depending on the selected zoom factor, vertical and/or horizontal scroll bars will be displayed. Alternatively, you can use the mouse wheel to scroll vertically, holding down <Shift> to scroll horizontally.
The zoom factor Auto is the pre-set default and will always enlarge or downsize the sheet to the full size of the screen.
Page Setup
When clicking this button, you will get to the "Page Setup" dialog to modify page settings.
Print/Print Area
Click on this button to reach the Windows "Print" dialog box to start the print procedure.
If you have zoomed a section in the page preview, the button's label will change to Print Area and when you click it, the Selection radio button in the Windows "Print" dialog box is already selected. If you click OK, the section displayed on the screen will be printed.
Please note that the zooming factor will not influence the scaling factor set in the "Page Setup" dialog.