Data filters
Data filters work as Dynamics 365 BC filter on reading the data (either when the VJS ist started or on reloading) wheras view filters are applied to data already having been loaded into the VJS.
Data filters are already effective at the data interface to make sure that only filtered data are handed over from Dynamics 365 BC to the VJS.
Create and edit filters
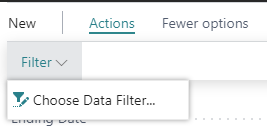
First, you have to open the according dialog by clicking "Choose DataFilter" in the "Setup" dialog:
You can filter by job, job task, resource group, and resource. The job task filter enables users who only want to see a specific portion of big jobs to do so. Since this filter may result in a list of projects for which no project tasks were found, there will be a message for the user indicating that the specified filter conditions did not allow for any job tasks to be loaded.
The short video below shows how to proceed once you have opened the filter dialog.
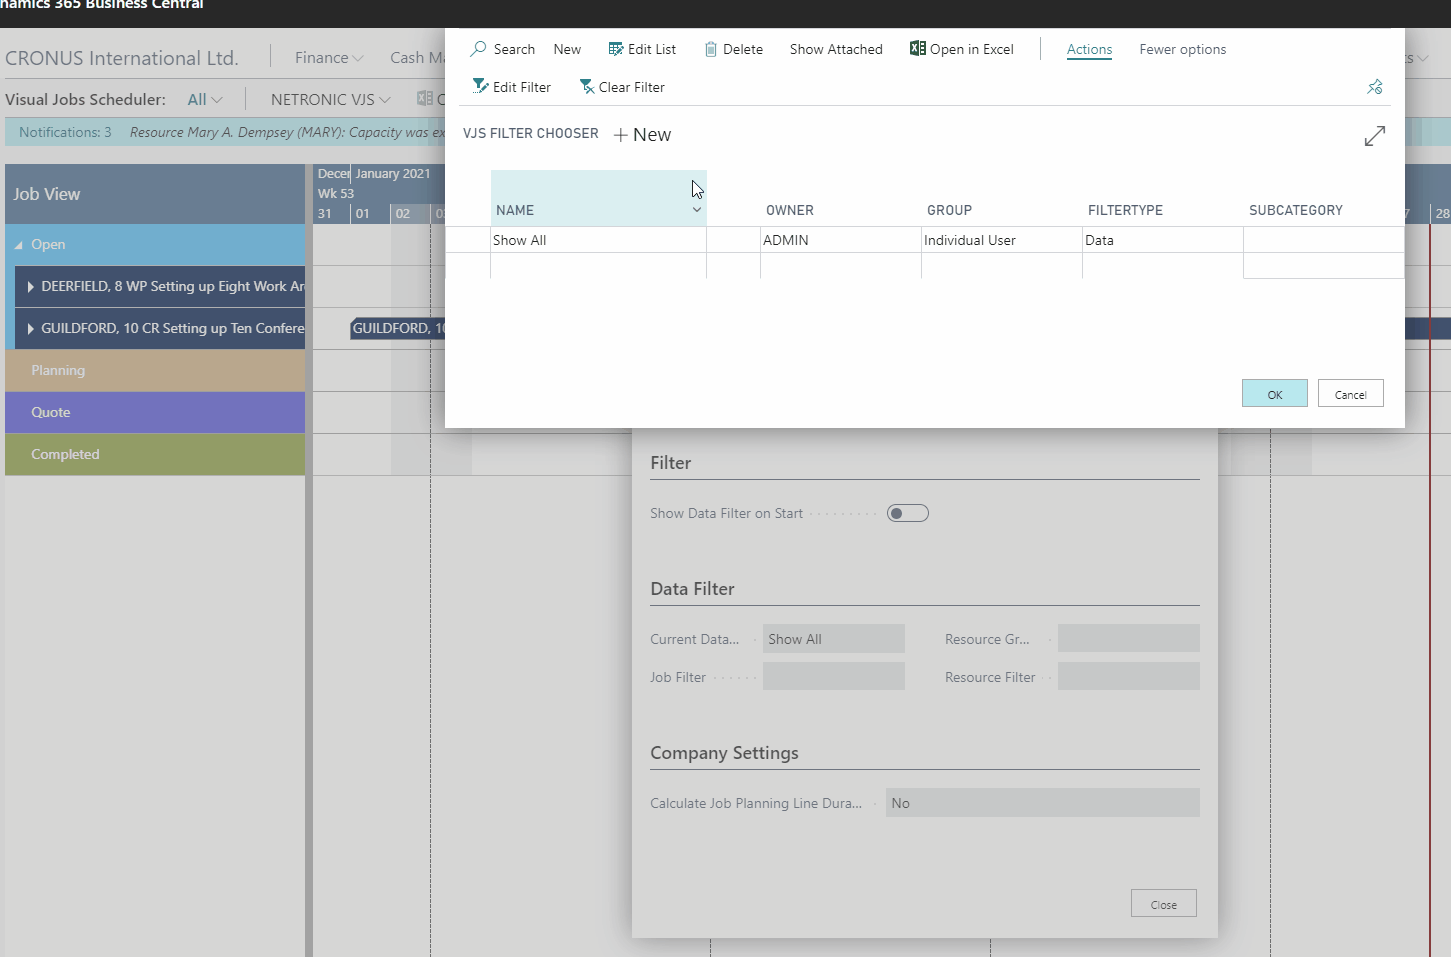
If you want to make sure that the "Edit Data Filter"dialog pops up when you start the VJS, tick the according option in the "Setup" dialog:
