- Visual Scheduling Tips & Tricks
- Visual Production Scheduler (VPS) for Dynamics NAV
- Setting-up the VPS (for users)
-
Visual Advanced Production Scheduler (VAPS) for Dynamics 365 Business Central
- Support
- Release and version status
- Installing the VAPS
- Look and feel of the visual schedule
- The view color modes
- Setting up the VAPS
- Integrating with Microsoft Dynamics 365 Business Central
- Finite Capacity Scheduling Instruments
- Simulations
- Day-to-day use cases
- Coding tips (for partners)
- API Events VAPS
-
Visual Production Scheduler (VPS) for Dynamics 365 Business Central
-
Visual Jobs Scheduler (VJS) for Dynamics 365 Business Central
-
Visual Production Scheduler (VPS) for Dynamics NAV
-
Visual Job Scheduler (VJS) for Dynamics NAV
The "Data filter" settings of the VPS
The "Setup" dialog lists your data filters and lets you create and edit them
Data filters work as NAV filter on reading the data (either when the VPS ist started or on reloading) so that they are already effective at the data interface to make sure that only filtered data are handed over from NAV to the VPS. If the VPS Web Client is used in addition, the filtered data are used as well so that the Clients’ view always remains identical
The "Data Filters" area
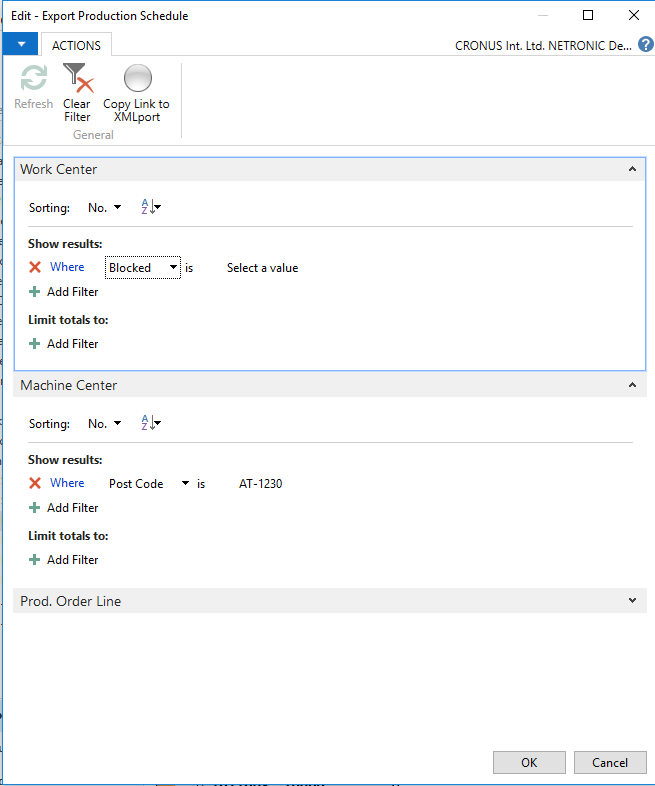
This area informs you which data filters are currently active. The filters themselves are created and edited in the "Configure Filters" dialog (see below). You can apply filters for work centers, machine centers, and manufacturing orders.
Furthermore, you can decide whether the data filters dialog should be shown every time you start the VPS.

The "Configure Data Filters" dialog

Edit the filter settings by clicking the "Configure Data Filter" button to open the according dialog where you get an overview of your existing data filters and can create new ones.

