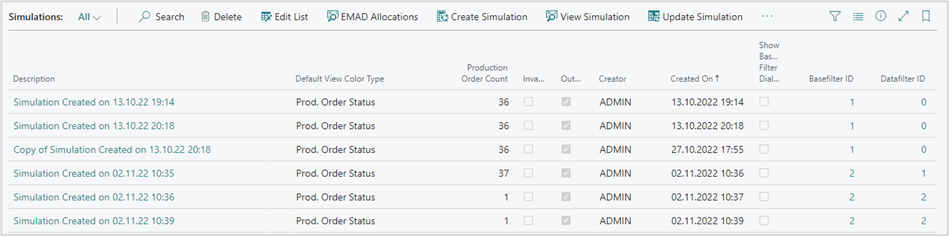
The "production simulations" page can be accessed via the NETRONIC VAPS menu, or by simply searching for "production simulations".
You can create as many simulations as you like. Each simulation is a snapshot of your current schedule, which you then can change via drag & drop in the visual scheduler. We keep each simulation persistent as long as you either publish or delete it.
If you click "Create Simulation", a new page opens:
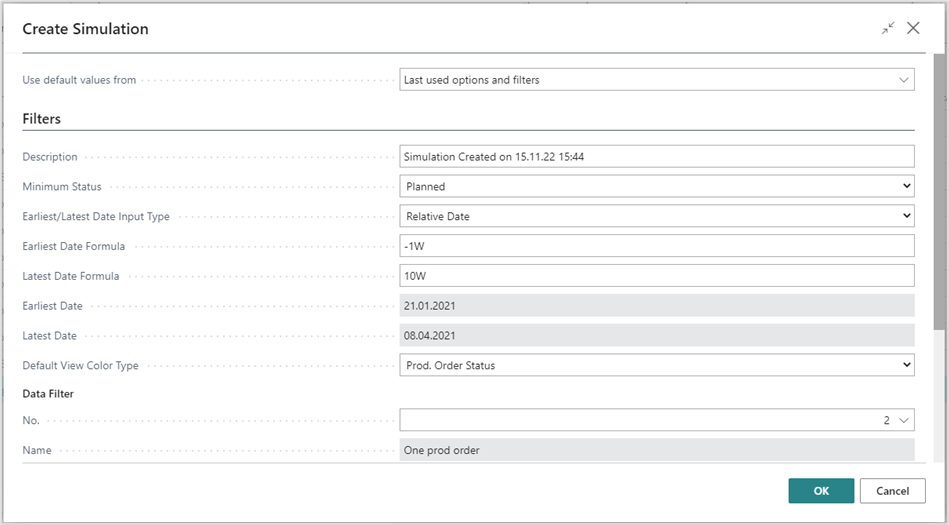
With this page, you define - in the filters section - certain criteria that should get applied for your simulation.
By clicking OK, a new simulation is created.
In case of inconsistent data, a warning message pops up:

The Filter settings
- Minimum status: Define which status the production orders included in the simulation shall have. Minimum status "planned" as in the picture above means that this simulation includes all production orders with the status planned, firm planned and released.

- Time range for the simulation: In the time fields relating to earliest/latest date you can specify either absolute or relative data.
We recommend to work with relative date settings.
Please note that if you select "relative date", the absolute date fields get updated automatically!

- Absolute time range: If you select "Absolute Date", you enter the desired dates in the according fields:

In the picture above, the simulation (remember: this is the snapshot of your overall schedule that you then want to work with) includes all production orders with the minimum production order status "planned that start on or after 20 January 2021 and finish on or before 30 June 2021.
- Relative time range: If you select "Relative date", you have to enter an according data formula. In the picture below, we look four days back and three months into the future:

- Default view color type: Select the default color type for this simulation

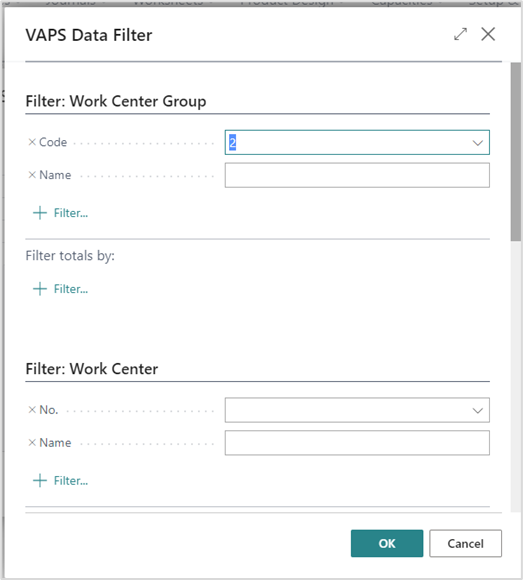
- Data filter
The settings in this area allow you to load only data that you really need (e.g., if you only need to work with data from your department). This means that these filter settings work as a Dynamics 365 BC data filter on loading the data into the simulation. Data filters are already effective at the data interface to make sure that only filtered data are handed over from Dynamics 365 BC to the VAPS.You create and edit filters as is described below under “Base view filter”.
- Base view filter
A base view filter is assigned to a simulation. This means that by opening the according simulation, the settings of the base filter come into play in addition to the data filter, but in contrast to the data filter, the data filtered out by the base filter are nevertheless taken into account for the planning. Please note that the settings of the base filter cannot be changed while the simulation is running.
A base filter can be created directly upon creating a new simulation or via the simulations page
-
Decide whether the base view filter dialog pops up at the start of the simulation
- Select an existing filter from the drop drown list
- Create a new one by clicking "Select from full list". For details please see the description below on "How to define regularly used filters".
-
How to define regularly used filters
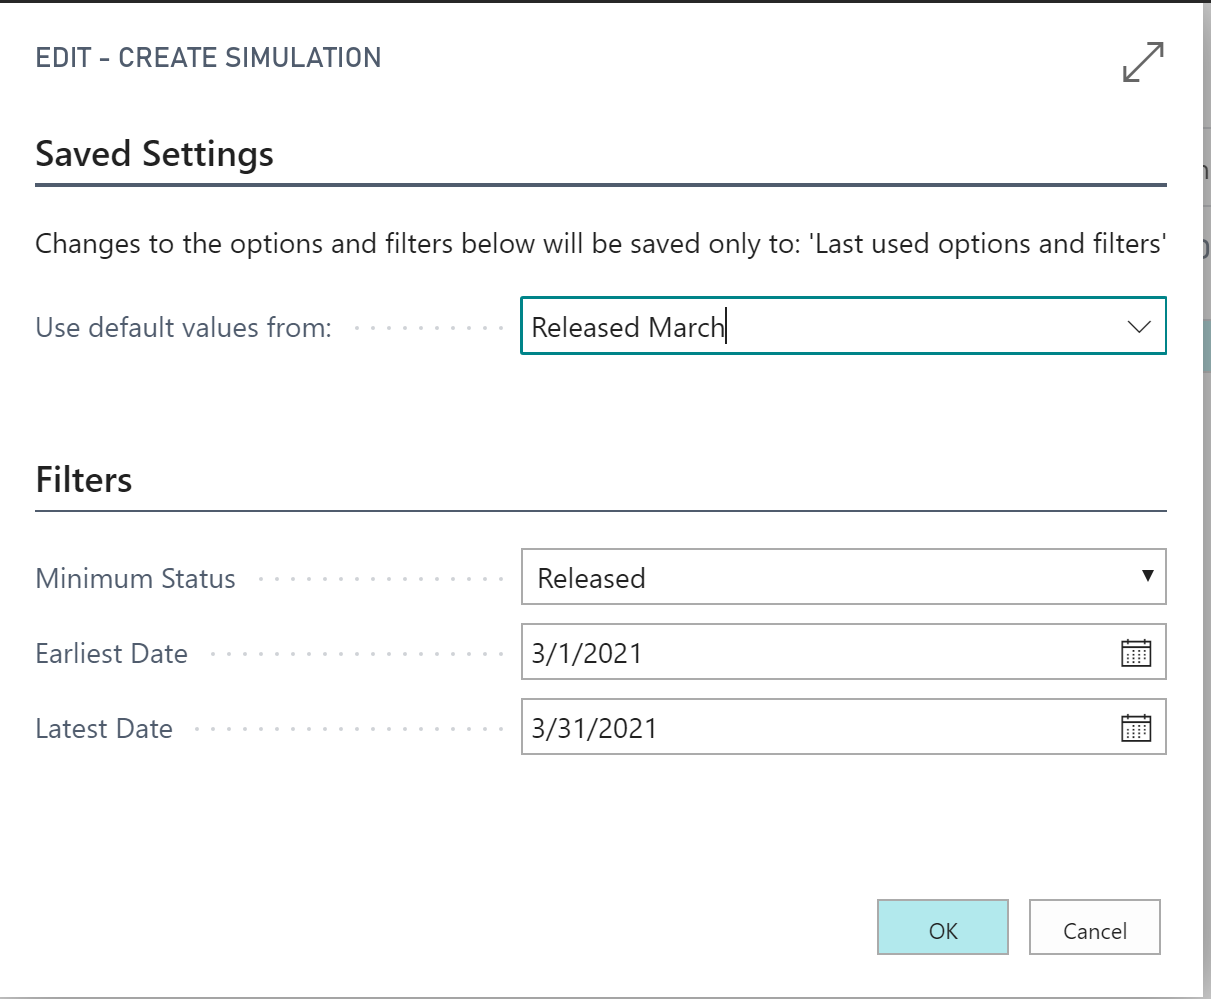
If you have filters that you want to apply multiple times, it makes sense to define them once. In order to do so, click the downward-facing triangle in the dropdown menu under "saved settings" and then click "select from full list".
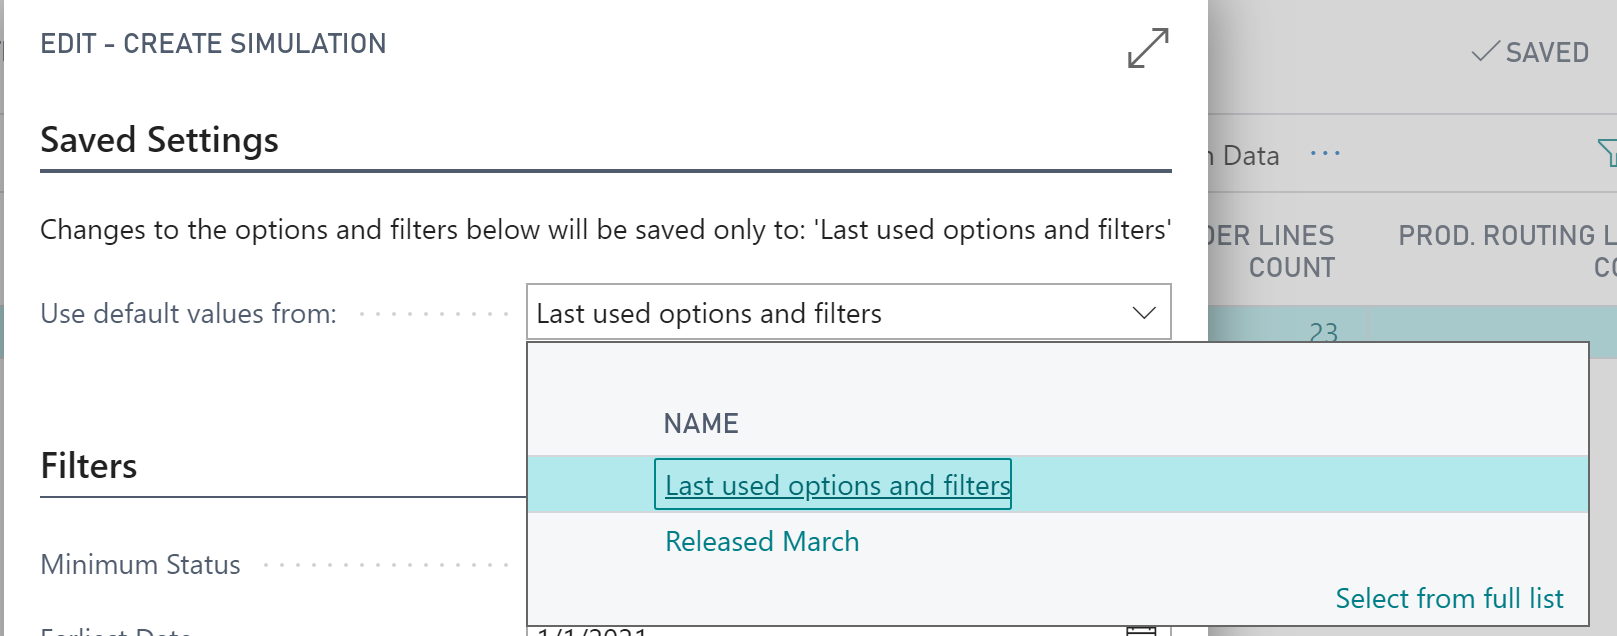
A new page opens, from where you can manage (i.e. create, edit and delete) all your filters:
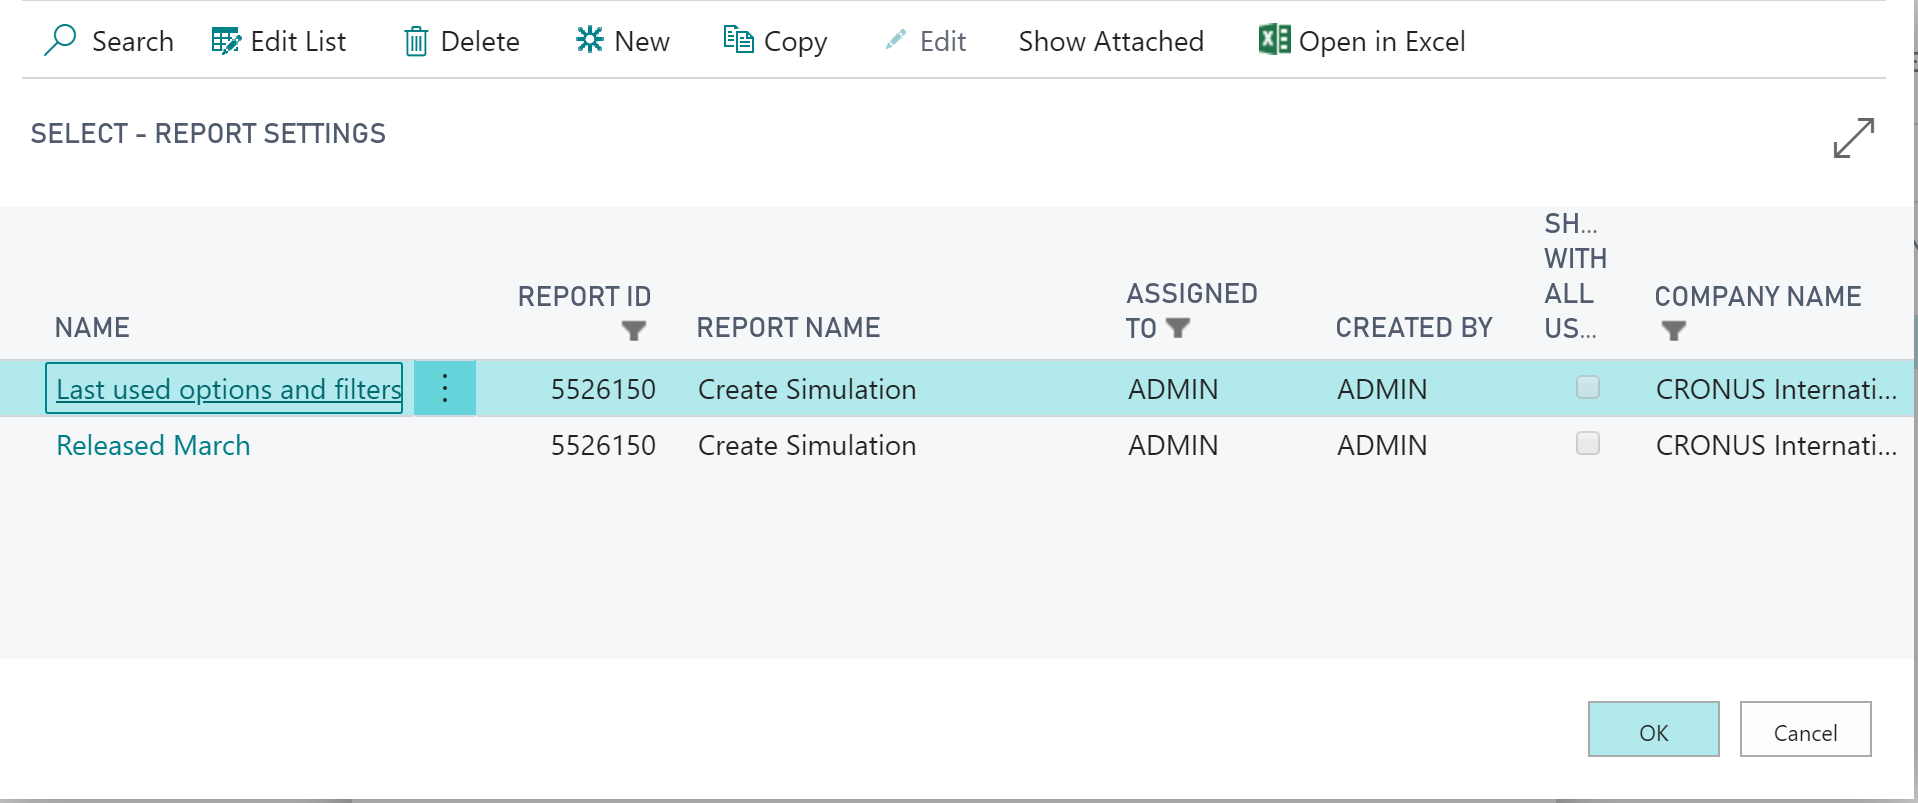
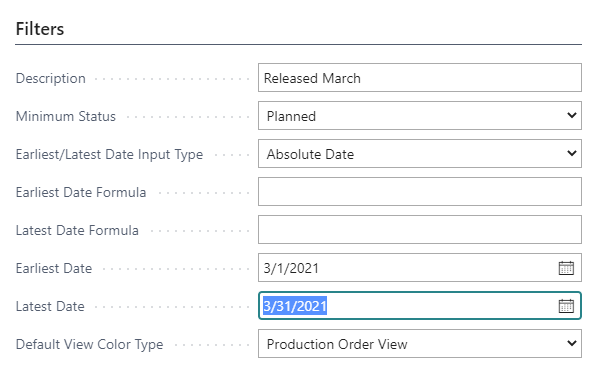
When you click "new", you can create a new filter with certain criteria. Here is how the "Released March" filter was defined:
Once defined, you can also apply this filter if you create a new simulation: