-
Visual Advanced Production Scheduler (VAPS) for Dynamics 365 Business Central
- Support
- Release and version status
- Installing the VAPS
- Look and feel of the visual schedule
- The view color modes
- Setting up the VAPS
- Integrating with Microsoft Dynamics 365 Business Central
- Finite Capacity Scheduling Instruments
- Simulations
- Day-to-day use cases
- Coding tips (for partners)
- API Events VAPS
-
Visual Production Scheduler (VPS) for Dynamics 365 Business Central
-
Visual Jobs Scheduler (VJS) for Dynamics 365 Business Central
-
Visual Production Scheduler (VPS) for Dynamics NAV
-
Visual Job Scheduler (VJS) for Dynamics NAV
How to configure tooltips
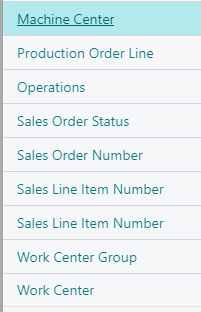
The tooltips of the VAPS provide further information on the following items of your production schedule:
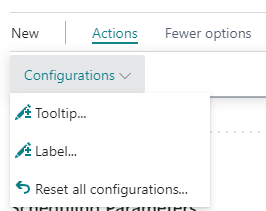
You can specify which information is to be shown in the tooltip of the respective item in the "Tooltip" dialog - to be reached by clicking "Configurations" in the "Actions“ menu of the "VAPS Setup" dialog:
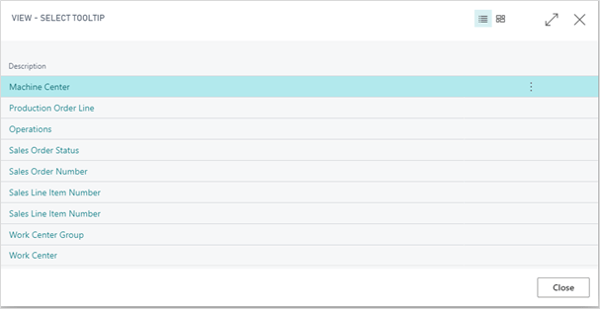
In the dialog popping up, you select the item for which you want to customize the tooltip and then either delete, edit or add fields and then click the “Edit” item from the “Actions” menu:
The dialog “Edit – Define configuration” pops up.
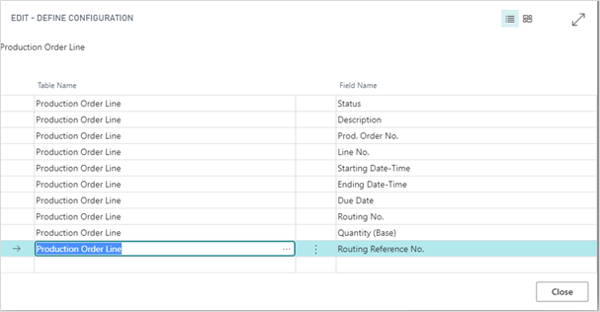
Here you can:
- Add a new field:
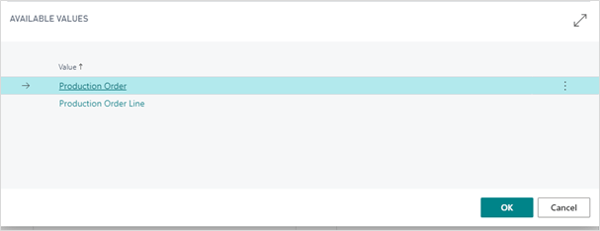
either click +NEW or just click in the last row. You can select the desired Dynamics 365 BC data by clicking “…” either for table and field name.
- Insert a new field:
Select the field above which you want to insert a new one and proceed as described above. - Delete a field:
Click and select “Delete line”

The time after which the tooltip appears can be specified in the appearance settings of the VAPS setup:

