You can decide which D365 BC information is to be shown as labels in the table for:
- Machine centers
- Production order lines
- Production order routing lines
- Production orders
- Sales order lines
- Sales orders
- Work centers
- Work center groups
The picture below shows the table text for a production order routing line, containing:
- the operation number
- a blank
- the description in brackets

How to proceed
For customizing the table label, proceed as follows:
- Click "Configurations" in the "Actions" menu of the "User Setup" dialog:

- In the "View - select table text" dialog, select the item for which you want to customize the table label which, in our case, would be "Production Order Routing Line":

The “Edit – Define Configuration” dialog pops up:
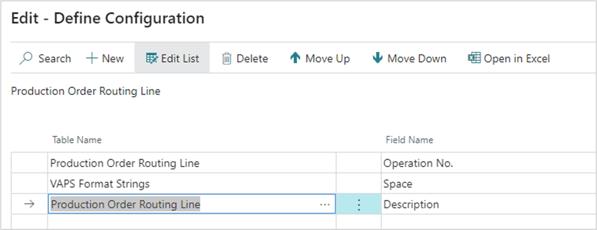
Here you can add, insert, edit, and delete fields as well as change their order. You can select the desired table name and field name from your Dynamics 365 BC data by clicking “…”.
Formatting the text
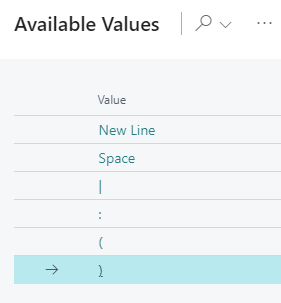
Separate the field contents by a blank, line break, or by the separators shown below by selecting the according character from the “VAPS Format Strings” table.